 Connected Craftsman LLC
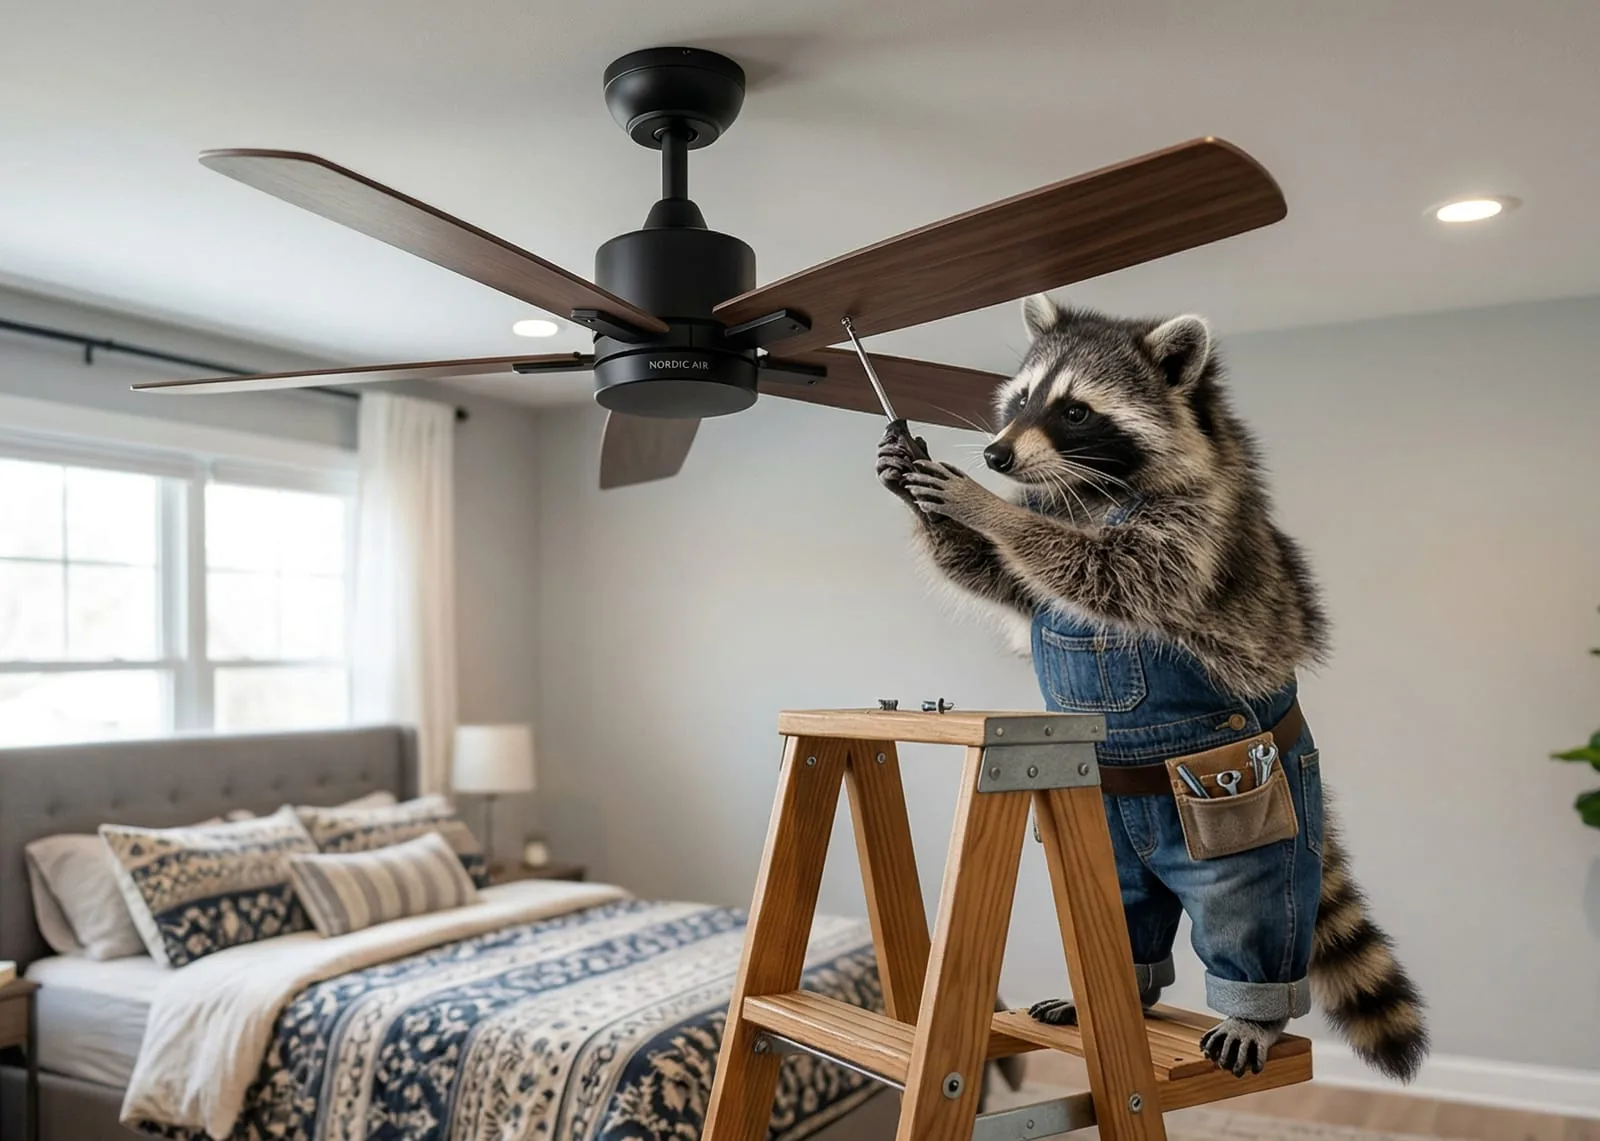
How to Troubleshoot a Rattling or Wobbly Ceiling Fan
There is nothing quite like the gentle hum of a ceiling fan to keep a room feeling comfortable and well-ventilated. But when that soothing, steady breeze turns into an aggressive wobble or a rhythmic, metal-on-metal rattle, your relaxing space can instantly feel like a hazard zone.
A shaking ceiling fan isn't just an auditory annoyance; it's a structural warning sign. Over time, the dynamic stress of a severely unbalanced fan can loosen the mounting system inside your ceiling, putting strain on electrical connections and hardware.
Before you assume you need to tear the whole system down and buy a replacement, the good news is that most wobbly or noisy fans can be brought back to a smooth, silent spin with a few basic tools. Here is a step-by-step troubleshooting guide to help you steady the shake.
Safety First: Cut the Power
Before you grab a ladder or touch any component of your ceiling fan, protect yourself from electrical hazards. Flip the wall switch to the off position. For maximum safety, head to your home's main electrical panel and turn off the circuit breaker dedicated to that room's lighting or fixtures.
Step 1: Banish the Dust (The Number One Culprit)
You might be surprised to learn that a heavy accumulation of standard household dust is the single most common cause of a sudden fan wobble.
Ceiling fan blades are precisely engineered aerodynamic weights. As they spin, dust, pet dander, and microscopic cooking grease build up on the leading edges and top surfaces of the blades. Because dust doesn't settle perfectly evenly across all surfaces, one blade can easily end up carrying just a few grams more weight than the others. At high speeds, that tiny variance creates an imbalance.
The Fix: Grab a stepladder, a microfiber cloth, and an all-purpose cleaning spray. Thoroughly wipe down the top, bottom, and edges of every single blade. Spin the fan to see if removing the dirt layer instantly stabilizes the system.
Step 2: Tighten the Hardware Matrix
Continuous motion inevitably loosens screws over months of operation. If your fan is rattling or clicking, something has likely backed its way out of alignment. Grab a screwdriver and check these three critical hardware points:
- Blade-to-Iron Screws: Check the small screws that secure the flat fan blades to the decorative metal brackets (irons).
- Iron-to-Motor Screws: Check the bolts connecting those decorative metal irons directly to the spinning motor housing.
- The Ceiling Canopy: Look up at the very top of the fan assembly against the drywall. If the decorative canopy cover is loose, it will slide down the downrod and vibrate rhythmically against the motor sleeve. Tighten the collar or canopy screws to secure it flush.
Step 3: Check the Ceiling Bracket & Box
If the blades are clean and all visible screws are tight, but the fan still swings wildly when turned on, the issue may be deeper in the ceiling.
Ceiling fans are heavy and require a specialized, heavy-duty electrical box anchored directly to your home's ceiling joists. Standard plastic junction boxes meant for lightweight light fixtures cannot support the dynamic weight of a spinning fan.
The Inspection: Slide the decorative canopy ring down to expose the mounting bracket inside the ceiling. Give the bracket a firm tug with your hand. It should remain absolutely rigid. If the bracket shifts, or if you notice the electrical box itself moving inside the ceiling cavity, the box mounting screws need to be tightened, or the box itself needs to be upgraded to a code-compliant, fan-rated brace.
Step 4: Measure for Blade Warping or Droop
Sometimes, humidity, age, or low-quality composite materials cause fan blades to warp or sag over time. Even a tiny vertical variance will ruin the aerodynamic balance.
The Tracking Test: Hold a tape measure or a standard yardstick vertically against the wall or a stable piece of furniture. Pick a specific point on the stick and line it up with the tip of one fan blade. Manually rotate the fan by hand, checking the exact height of every single blade tip as it passes that exact spot on the ruler.
The Metric: All your blades should pass within 1/16th of an inch of one another. If one blade sits lower or higher than the rest, gently check the metal iron to see if it was accidentally bent during a furniture move or cleaning session.
Step 5: Deploy a DIY Balancing Kit
If everything is tight, clean, and structurally sound, but a subtle wobble remains, it's time to use a standard ceiling fan balancing kit (available for a few dollars at any local hardware store). These kits contain a plastic tracking clip and several small, adhesive-backed lead weights.
- Locate the Trouble Spot: Slide the plastic clip onto the middle of one fan blade. Turn the fan on low speed and watch the wobble. Turn the fan off, move the clip to the next blade, and test it again. Repeat this process for every blade. The blade that shows the least amount of wobble when the clip is attached is your problem blade.
- Find the Distance: Take that problem blade and test the clip at different positions along its length — move it closer to the motor, then toward the center, and finally near the outer tip. Note which position results in the smoothest spin.
- Affix the Weight: Peel the backing off one of the small weights provided in the kit and stick it to the top center of the blade, directly in line with where the tracking clip performed best. Remove the plastic clip, turn the power back on, and enjoy your beautifully stabilized breeze.
Tackling a rattling or unstable ceiling fan is an incredibly rewarding weekend fix. By taking it step-by-step — cleaning, tightening, measuring, and balancing — you can protect your ceilings, eliminate distracting background noise, and extend the lifespan of your fixture for years to come. Give your fans a quick inspection this season and keep your home's airflow smooth and silent!