 Connected Craftsman LLC
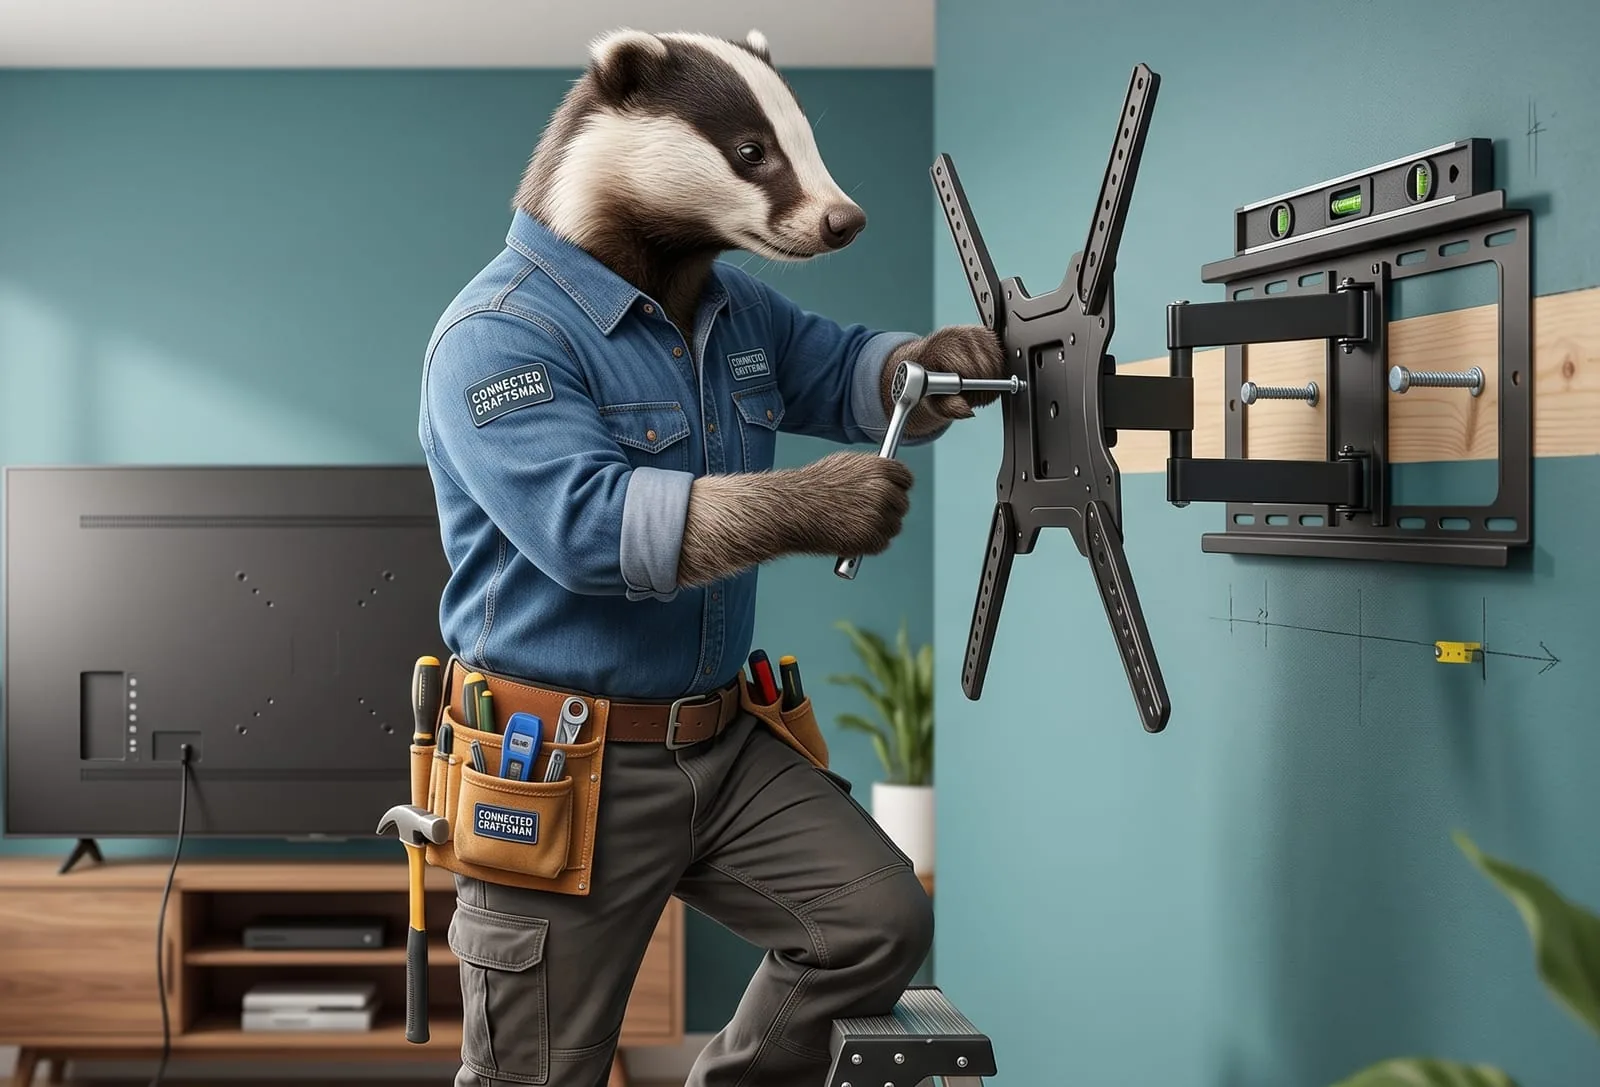
The Ultimate Guide to Mounting Your Flat-Screen TV
There is nothing quite like upgrading your living room entertainment system. You picked out the perfect flat-screen TV, unboxed it, and now you're staring at a blank wall.
Mounting a TV to the wall instantly modernizes a room, frees up valuable media console space, and keeps expensive electronics safely out of reach of curious pets and toddlers. But before you grab your drill and guess where the studs are, a little planning goes a long way. Hanging a heavy, expensive piece of glass requires a solid strategy.
Here is what you need to know about choosing the right mount, finding the sweet spot on your wall, and keeping the installation safe and level.
1. Pick the Right Type of Wall Mount
Not all TV mounts are created equal. The right choice depends on the layout of your room and where you plan to sit. There are three primary configurations to choose from:
- Fixed (Flat) Mounts: These hold the TV flush against the wall like a picture frame. They offer the cleanest, lowest-profile look but offer absolutely no movement. Choose this if your TV is positioned directly at eye level and you don't need to access the back ports frequently.
- Tilting Mounts: These allow you to angle the screen downward (usually up to 15 degrees). They are ideal if you have to mount your TV higher than eye level — such as over a fireplace — because tilting the screen helps eliminate annoying ambient light glare and improves viewing angles.
- Full-Motion (Articulating) Mounts: These feature an extendable arm that allows you to pull the TV out from the wall, tilt it vertically, and swivel it left or right. This is the ultimate option for open-concept rooms or corner installations, allowing you to angle the screen toward the kitchen or the couch depending on where you are sitting.
Check the Specs: Always match your TV's weight and its VESA pattern (the four bolt holes on the back of the TV measured in millimeters) to the specifications listed on the box of the mount. Never guess on weight capacity!
2. Finding the Perfect Viewing Height
The most common mistake homeowners make is hanging the TV too high. You might think it looks great up near the ceiling, but sitting through a two-hour movie with your neck cranked upward is a recipe for a trip to the chiropractor.
The Golden Rule: The center of your TV screen should ideally be at eye level from your primary seating position.
- For the average sofa, this means the center of the screen will land roughly 42 inches from the floor.
- If you have to go higher due to architectural layout (like a fireplace mantle or shelving), a tilting mount becomes essential to maintain a comfortable line of sight.
3. Know Your Wall Structure
What is hiding behind your drywall dictates exactly how you should secure your television.
Wood Studs
This is the gold standard for residential installation. You must use a high-quality stud finder to locate the center of the wooden studs and anchor your mount's heavy-duty lag bolts directly into them. Never rely on plastic drywall anchors to hold a television.
Metal Studs
Common in newer townhomes, apartments, and commercial spaces, metal studs are too thin to hold traditional lag screws. If you have metal studs, you will need to utilize heavy-duty pull-toggle anchors designed specifically to expand behind the metal channel.
Brick, Concrete, or Block
Mounting to a fireplace surround or basement foundation wall requires a masonry drill bit and concrete sleeve anchors or Tapcon screws. It takes a bit more elbow grease, but it provides an incredibly strong, permanent hold.
4. The Pre-Flight Checklist
Before making your first pencil mark on the wall, run through this quick mental checklist:
- Gather the Tools: You will need a stud finder, a level (never eyeball it!), a tape measure, a drill, a socket wrench for the lag bolts, and painter's tape or a pencil.
- Test Your Cables: Plug your HDMI, power, and audio cables into the back of your TV before lifting it onto the wall mount bracket. Ensure the cables are long enough to reach your outlets without being stretched taut.
- Phone a Friend: No matter how lightweight modern flat-screens claim to be, lifting a large, awkward panel onto a wall bracket is always a two-person job. Don't risk your screen — or your back!
5. What About the Wires?
A perfectly leveled TV can still look messy if a tangled web of black cords is dangling down your accent wall.
If you want a perfectly clean aesthetic, you have a couple of options. For an easy weekend project, low-profile cable management raceways can be painted to match your wall color, neatly hiding cords along the surface. Alternatively, you can use specialized in-wall cable routing kits to run the wires safely inside the wall cavity — just ensure your power cords are specifically rated for in-wall use to stay compliant with local fire safety codes.
By taking your time, selecting the correct hardware, and prioritizing safety, you'll end up with a gorgeous, secure setup that makes your living room feel like a true home theater. Happy viewing!