 Connected Craftsman LLC
How to Properly Test and Maintain Your Smoke and CO Detectors
When we think about home safety improvements, it's easy to focus on high-visibility upgrades like security systems, sturdy deadbolts, or automated outdoor lighting. But the most vital life-saving technology in your home is completely silent, tucked away on ceilings and walls out of sight.
Your smoke and carbon monoxide (CO) detectors are your home's ultimate line of defense. According to the NFPA, close to three out of five home fire deaths happen in houses with no smoke alarm or one that wasn't working. Almost none of those failures are a manufacturing problem — they're a skipped battery, a disconnected unit, or a detector nobody replaced after it aged out.
To ensure your home remains fully protected, it is essential to look past the basic rule of replacing the batteries once a year. Here is a definitive, easy-to-follow guide to understanding, testing, and maintaining your detectors.
1. Understand Your Tech: Ionization vs. Photoelectric
Not all smoke detectors sense fire in the same way. If you are upgrading your system or mapping out placement, understanding the difference between the two primary sensor types can save valuable seconds in an emergency:
- Ionization Alarms: These use a trace amount of radioactive material to create an electrical current inside the sensing chamber. When smoke particles enter, they disrupt the current and trigger the siren. These are highly sensitive to fast-moving, roaring fires (like paper or grease fires) but are prone to false-triggering from normal kitchen cooking steam or heavy bathroom humidity.
- Photoelectric Alarms: These utilize a small light beam and a light sensor inside the chamber. When smoke enters, it scatters the light beam into the sensor path, setting off the alarm. These excel at detecting slow-burning, smoky, smoldering fires — such as electrical shorts inside walls or a mattress catching a stray ember.
The Best Practice: For maximum protection, look for dual-sensor alarms that house both ionization and photoelectric technology in a single unit.
2. The Routine Testing Blueprint
Pressing the "Test" button on your detector should be a standard household habit. Safety organizations recommend testing your alarms once a month.
- The Single-Unit Test: Walk up to your detector, clear the immediate area, and hold down the physical test button on the faceplate for a few seconds. The unit should emit a piercing, rapid sequence of beeps.
- Interconnected Systems: If your home features interconnected alarms (meaning if one triggers in the basement, they all trigger simultaneously throughout the house), keep holding the button down for an extra 10–15 seconds. This gives the system enough time to signal the remote alarms, letting you verify that the signal is successfully traveling to the upper bedrooms or living spaces.
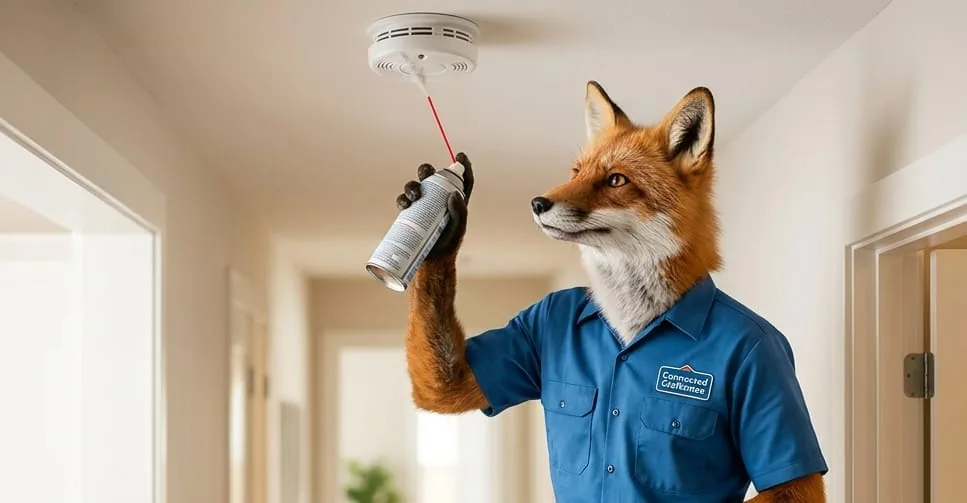
- What Does the Button Actually Test? It's a common misconception that pressing the test button checks whether the detector can sense smoke. The button only verifies that the internal circuitry, the battery power supply, and the speaker horn are operational. To safely test actual sensor capability, specialized aerosol "smoke check" test sprays can be purchased at any home improvement store.
3. Deep Cleaning: Banishing Dust and Cobwebs
While replacing low batteries ends the annoying middle-of-the-night "chirp," changing the battery doesn't clean the sensitive physical components of the unit. Over time, floating household dust, pet dander, and small spiders or cobwebs settle directly inside the sensing vents.
The Problem: Heavy dust buildup inside an ionization or photoelectric chamber causes two issues: it can create persistent false alarms that drive you crazy, or it can block actual smoke from entering the chamber, completely neutralizing your protection.
The Fix: Twice a year, pull up your stepladder and perform a deep clean. Take a soft microfiber brush to clear off the exterior faceplate. Next, use a vacuum cleaner with a brush attachment or a can of compressed electronics air to gently blast away loose dust from the narrow venting slots around the perimeter of the detector.
4. Keeping Track of Life Expectancy (The 10-Year Rule)
Every single smoke and carbon monoxide detector operating today has a built-in expiration date. The sensitive chemical components inside these sensors degrade and lose calibration over time due to environmental exposure.
- Smoke Detectors: Must be completely replaced every 10 years from the date of manufacture.
- Carbon Monoxide Detectors: Typically lose accuracy faster than smoke detectors — replace every 7 years for units manufactured before 2013, or every 10 years for newer models, per manufacturer guidance.
How to Check Your Units: Twist the detector counterclockwise to detach it from its mounting plate. Flip it over and inspect the plastic backing sticker. You will find a clearly stamped date of manufacture (e.g., May 2016). If your unit is approaching or past its 10th birthday, replace it immediately, regardless of whether it still beeps when you press the test button.
5. Carbon Monoxide: Smart Placement Metrics
Unlike smoke, which rises naturally toward the ceiling along with hot air columns, carbon monoxide is a toxic gas that mixes evenly with your home's air supply. Because it is completely colorless, odorless, and tasteless, proper placement of CO alarms is non-negotiable.
Ensure you have a CO detector installed on every level of your home, especially immediately outside every sleeping area. Because many fuel-burning appliances (furnaces, water heaters, clothes dryers) are common sourcing zones, place a monitor at least 15–20 feet away from these systems to avoid false readings during baseline appliance startups.
Small Commitments, Vital Protection
Maintaining your home's detector grid is one of the easiest, most affordable insurance policies you can give your household. By committing just 15 minutes a month to testing your buttons, vacuuming out dust channels, and tracking your units' expiration dates, you take definitive control of your family's baseline security. Check your calendar, grab your screwdriver, and give your ceilings a thorough checkup this weekend!